1 Surface Preparation
- The joint surface should be sound, thoroughly clean, dry and free from grease, oil or any other contamination.
All dust and debris must be removed by wire brushing, grinding and vacuuming. Damaged joints should
berepaired using a suitable mortar from the Pidilite range. - Ensure that the filler material such as a closed cell polyethylene sheet or rod is tightly packed and no gaps
orvoids are evident at the base of the joint. Where backing rod is not fitted a bond breaker tape must be used. - Fix masking tape on both sides of joint surface to provide a neat appearance and ensure the tape is
removedimmediately after tooling.
2 Application
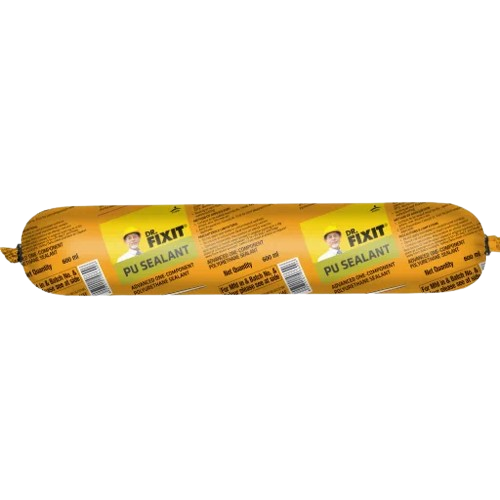
Insert the sealant sausage into a hand operated application gun and apply nominal pressure over the trigger
of the gun so that sealant starts extruding out of the nozzle and apply the sealant into the joint. Apply a slight
excess for tooling and finishing purpose.
3 Finishing
Tool the sealant immediately with a tooling knife by pressing against the joint to remove air pockets and to
ensure 100% contact and adhesion with the joint arris.
4 Cleaning
After sealing the joint, tools and equipment should be cleaned immediately with any Dr. Fixit Resin Cleaner.
5 Painting
Dr. Fixit PU Sealant can be over coated with most paints, however non flexible coatings may crack.
Werecommend a trial application. Best results are obtained if the sealant is allowed to cure fully prior to
painting.
